Group Making - Ferrari 250GTO
A journey of making a Ferrari 250 GTO.

I make one of the side part and assemblies all other parts at the end with my group.


First of all, we use the 123d Make software to build a slice cutting and laser cut the model 's structure. We import the STL model of Ferrari 250 GTO and adjust the size and how the slice cutting. The size of uniform scale is H 215mm*W 890mm*L 359mm. The scale depends on the largest size of the MDF can be fitted for the laser cutting machine. Otherwise, the oversize parts need to be glued together. Then we export all the files and laser cut each slice. The material is 3MM MDF board.


Secondly, we assembly the pieces of laser-cut slices.


The slices are too tight, and it might due to the tolerance of laser cutting. We slice the pieces together as we can, and then use a hammer to make it get to the position that it should be.


Finish Assembly


Side View

Bottom

View from back

Finish! Finish? Not yet...

Thirdly, we use the masking tape wrap the surface, and mark the lines to show how the parts are divided.


We divide it into 7 parts and each person handles one part.


We have our names on it and communicate how to make both sides as same and connect them all together.

This is the part that I handle.


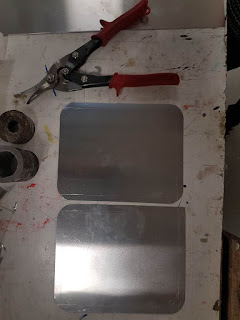
Start the aluminum part, I use a paper to trace on the top by following the marked line. Then flatten the paper and cut the shape. After that, place the pattern a piece of aluminum sheet and cut the shape out.


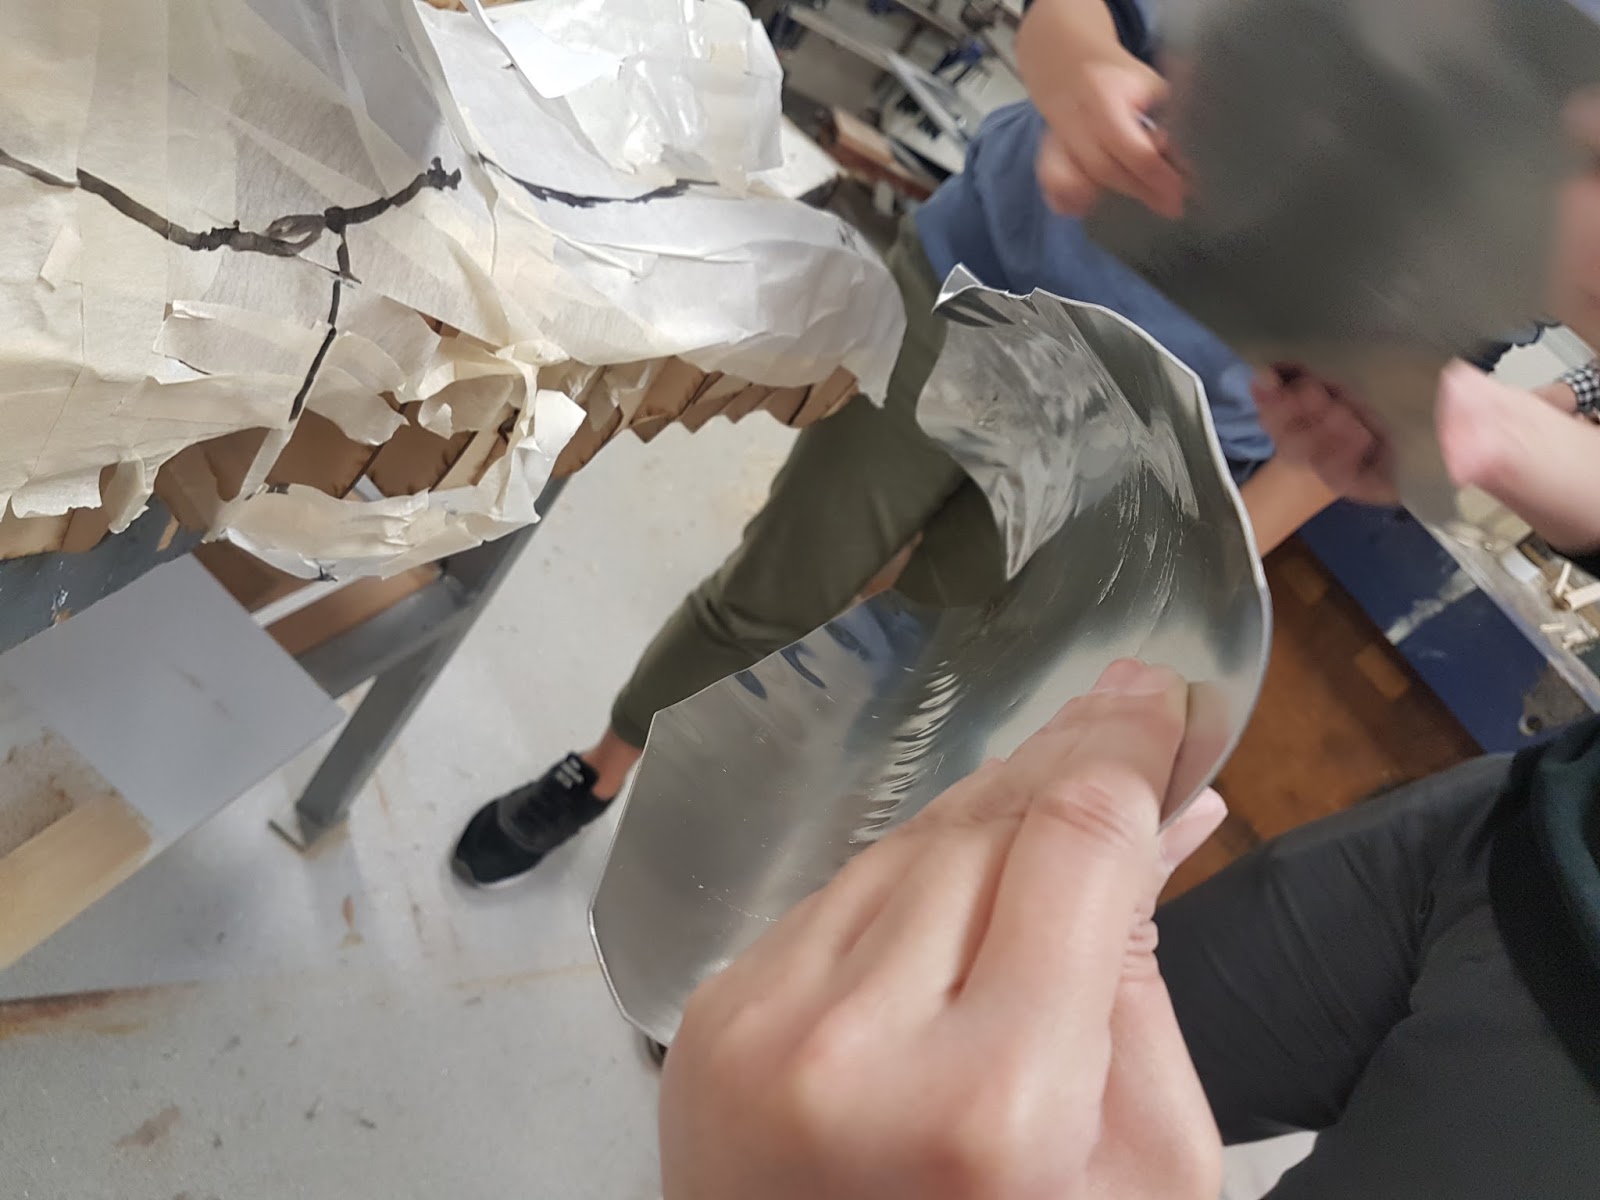
I realize that the wheel part should be kept out and I have to mark the wheel line and cut it out.


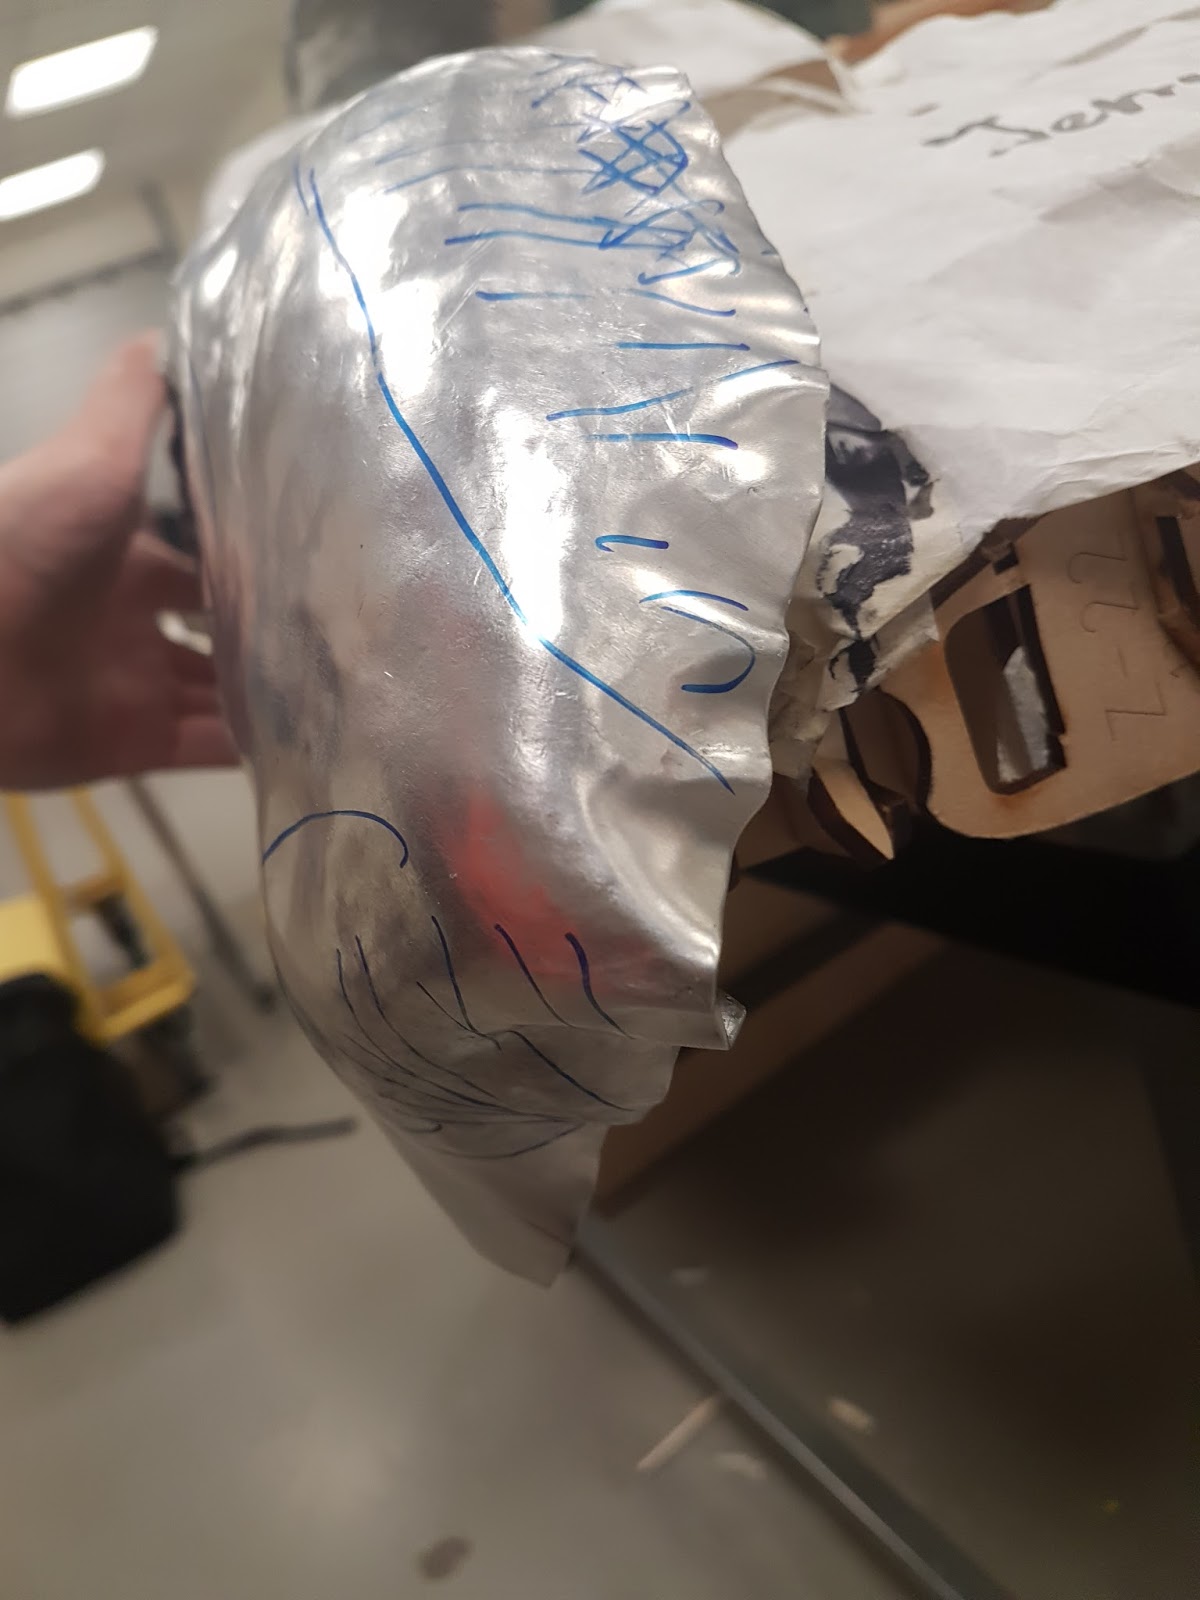
First time by hammer the part and it starts to become a specific shape.


The front part shows there is some spare material and it needs to be shrunk together.


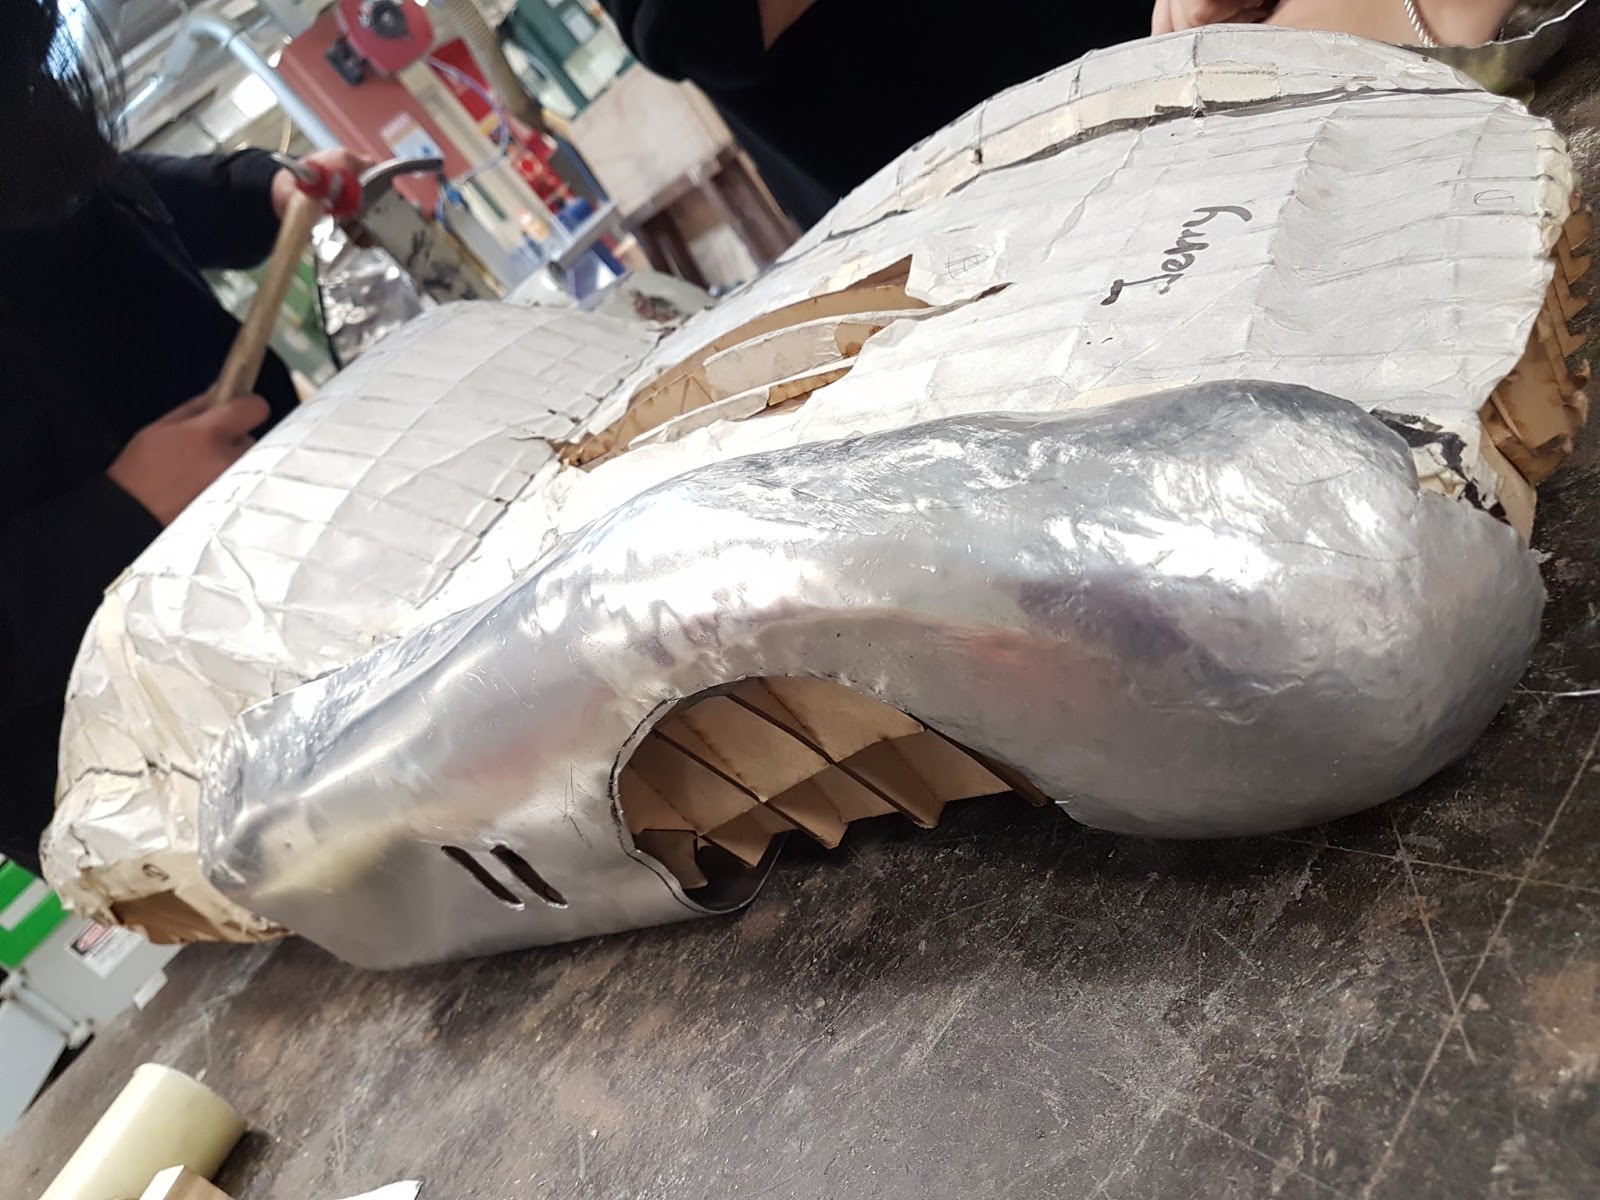
The part needs to be put on the wood structure and see how it change and fit.


Mark the places which are hammer too much and need to be shrunk.


The front - side material is shrunk and bring the curve smaller.

Smooth and hammer flat the materials.


During the process, there is hammer too much over at first, and I have to shrink three segments. This makes me spend a lot of time for shrinking, As well as, I found the shape it is easy to get change every time I hammer it. Therefore, I have to careful each time and match to the wood structure and make sure it is fit.


After that, the shapes is almost there. And also I need to work with other group members for connecting the other parts.

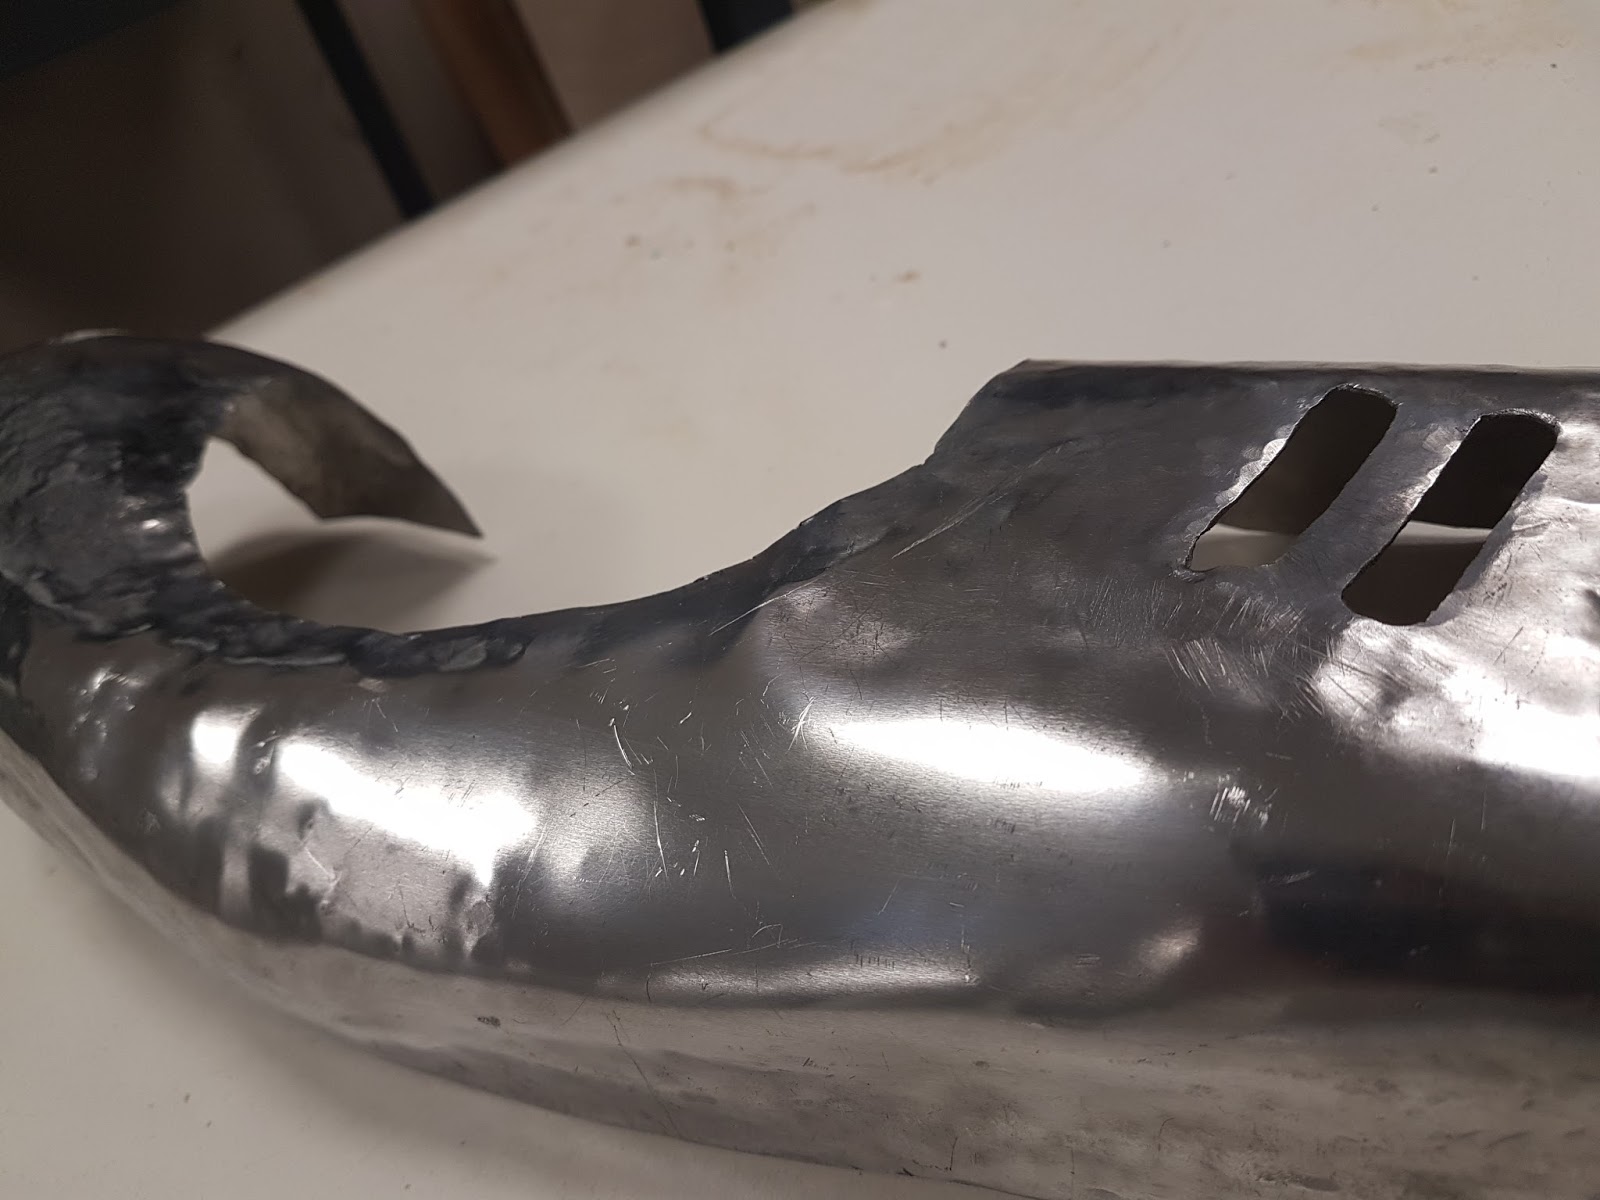
Following the picture of the real car design. There are two slots on the side panel. Therefore, I need to cut the slots.

To get two slots, firstly need to use a hand drill and drew two 10mm holes on the marking place. Secondly, use a jigsaw to cut the rest of the rectangular out. After that grind the sharp edges to smooth.


Polish the surface and some edges.


Top view, try to cover the dividing line.


Rip off the paper on the top and try to more fit to the structure.


Trying to assembly and connect to each other.

After more fixing and to match to other parts. Use oil to polish the side part. It can make it shinier and looks better.


Finally!
It is not perfect to connect as a whole car, but it is enjoying the making process. If we have more time, we might have a chance to make it better.


End of the journey...

Comments
Post a Comment